


ARP Bin Rentals
Renovation Dumpster Guide: Planning Waste Disposal for Your Renovation in Sarnia
The fastest way to derail a renovation may have nothing to do with contractors, materials, or permits. It can be something as simple as running out of space for the debris.
Renovation waste builds up quickly, often before homeowners realize how much they are dealing with. A bathroom gut can fill half a dumpster, while a kitchen renovation can leave your driveway buried under drywall, cabinets, flooring, and packaging.
The right bin, delivered at the right time, keeps your worksite safer and your project moving. Choose the wrong size or wait too long to book, however, and waste disposal can become an expensive bottleneck.
Here is how to estimate your debris, choose the right dumpster, avoid common loading mistakes, and plan a smoother renovation in Sarnia.
Key Takeaway
- A 10-yard bin suits smaller, single-room projects, while a 14-yard bin is better for most full renovations.
- Place the bin close to the work area and confirm whether street placement requires a City of Sarnia permit.
- Break down bulky materials, load heavy debris first, and never fill the bin above the rim.
- Keep hazardous materials such as paint, solvents, oils, chemicals, asbestos, and tires out of the dumpster.
- When unsure about size or rental length, choose the larger bin or allow extra time to avoid delays and additional pickups.
How Much Waste Will Your Renovation Actually Generate?
Most homeowners underestimate this, sometimes significantly. The volume of debris a renovation produces depends less on the size of your home and more on the scope of what’s coming out.
Single-Room Projects
A flooring swap, bathroom refresh, or kitchen backsplash generate less volume but more than you’d think. Tile, underlayment, old fixtures, and packaging add up fast, especially once drywall patching enters the picture.
Mid-Scale Renovations
A complete kitchen gut, basement finish, or multi-room remodels are where debris volume becomes a real logistics problem. You’re dealing with cabinetry, drywall, subfloor, plumbing fixtures, and appliances often simultaneously.
Full-Home Renos & Contractor-Led Projects
Such scenarios can generate multiple bin-loads over the course of the job. If you’re combining roofing with interior work, or doing a structural gut job, plan for at least one bin swap before the project wraps.
Pro Tip: When in doubt, size up. Running out of bin space mid-project stalls momentum and costs more to solve on the fly.
Choosing the Right Size for Dumpster Rental
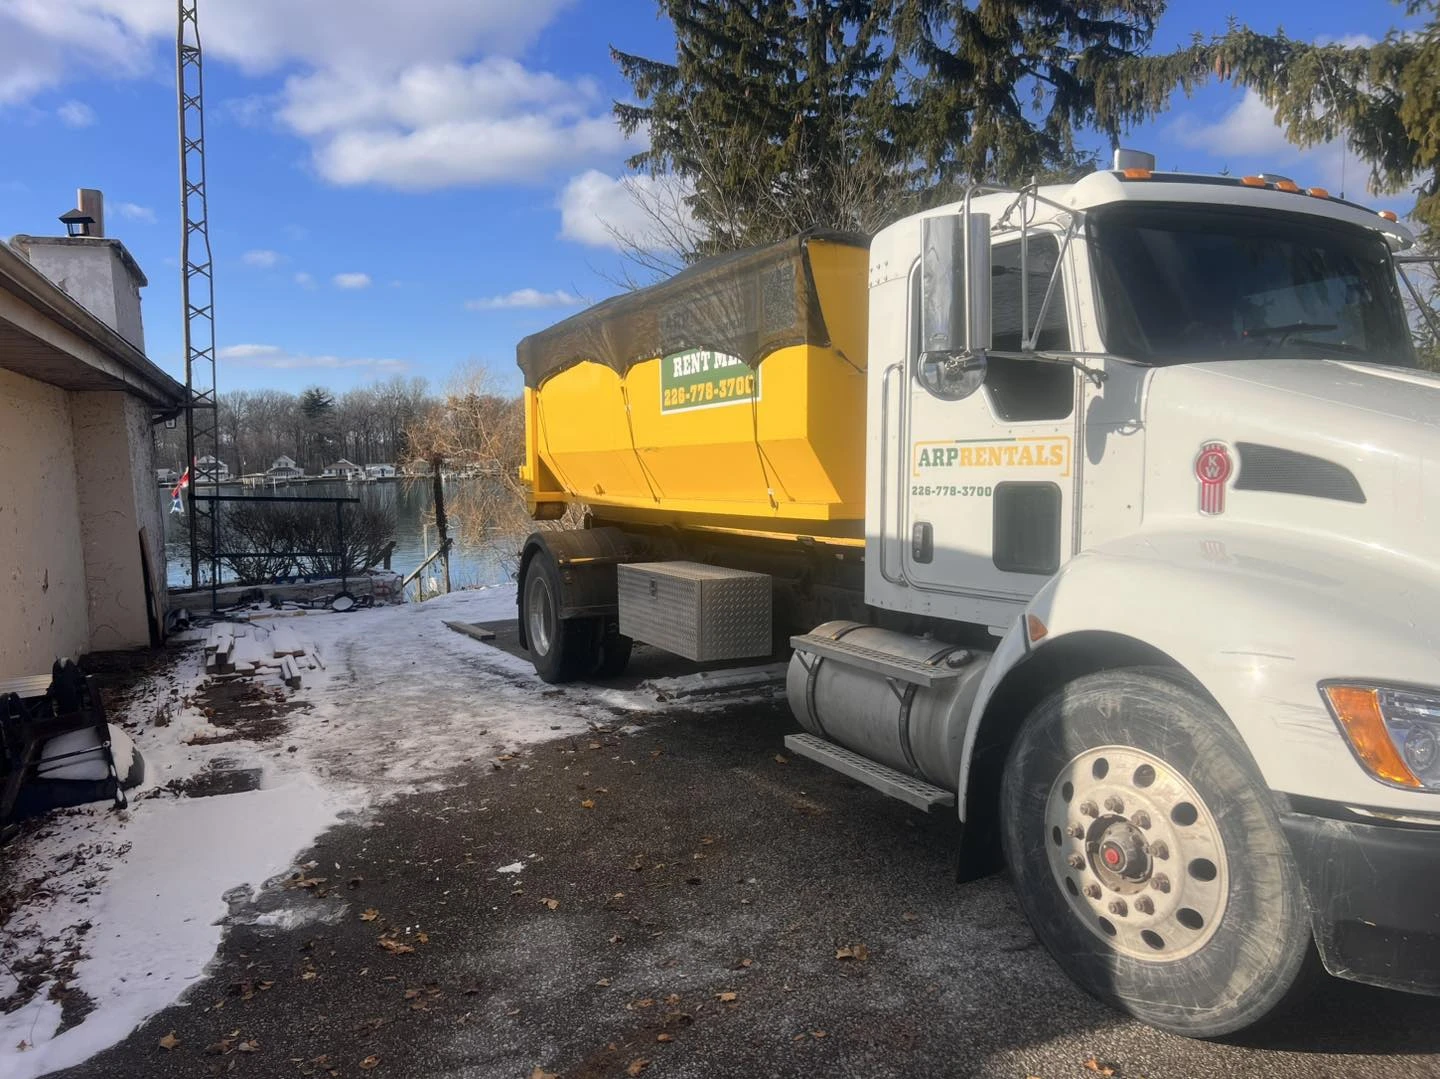
At ARP Bin Rentals, we offers two sizes for dumpsters, and the choice is usually straightforward once you know your project scope.
10-Yard Bin
At 14′ × 6′ × 3.5′, the 10-yard bin handles smaller cleanouts, single-room projects, and smaller demo jobs. It fits comfortably in most driveways and works well when the debris is manageable and the project runs just a few days.
Homeowners often wrongfully assume a small project means a small amount of waste. In fact, one bathroom renovation, tile, vanity, drywall, old tub surround can push this bin close to capacity on its own.
14-Yard Bin
At 14′ × 7′ × 4′, this is the right call for most renovations. Kitchen and bathroom guts, basement finishing, roofing replacements, multi-room remodels, and contractor-led projects all belong here. The extra height and width make a real difference when you’re tossing irregular shapes like cabinetry doors, drywall sheets, and lumber.
If you’re on the fence between sizes, go with the 14. The cost difference is small relative to the headache of running out of space.
Where to Place Your Dumpster
Placement affects how efficiently you can load the bin and whether your property takes any damage in the process.
Driveway Placement
The driveway is the default for most residential renovations and for good reason. It keeps the bin close to the work, off the street, and accessible throughout the project.
Street Placement
If your driveway is blocked by contractor vehicles or equipment, street placement is an option but check with the City of Sarnia before booking. Some municipalities require a permit for bins placed on a public road.
Timing Your Dumpster Rental
Getting the timing right is one of the easier ways to keep an office or home renovation project running smoothly.
Order Before Demo Day
Have the bin on-site before demolition starts. The first day of the demolition generates more debris than most people anticipate, and without a bin ready, that material ends up stacked in the garage or piled on the lawn.
How Long Should You Keep It?
For most single-phase renovations, a seven-day rental is enough. The demolition, disposal, and cleanup typically fall within that window if the project is well-scoped.
Where people get caught short is multi-phase work: finishing the basement while the kitchen is mid-gut, or waiting on a contractor who runs a few days behind. In those cases, extending the rental by a few days beats the alternative.
How to Load a Renovation Dumpster Efficiently
A well-loaded dumpster rental holds more, costs less in weight charges, and is safer for pickup. The following habits can create a huge difference.
- Break down large items first: Cabinetry, doors, and drywall sheets take up significantly less space when broken into sections before tossing.
- Load heavy construction debris flat on the bottom: Materials like concrete, tile, and roofing shingles go in first. Lighter material, such as insulation, lumber scraps, packaging goes on top.
- Fill corners and edges before stacking vertically: Irregular gaps waste capacity, so stack the disposal in a way that leaves no spaces.
- Don’t load past the rim: Overfilled bins can’t be legally transported. If you’re approaching the top, call the rental service for a swap rather than trying to compress the load.
What You Can and Can’t Put in a Renovation Dumpster Rental
Before you start loading, it’s worth knowing what’s welcome in the bin and what needs to go elsewhere.
Accepted Materials
Most renovation debris is fine: drywall, lumber, flooring, roofing shingles, old cabinetry, metal, fixtures, windows, insulation, packaging, and furniture.
Not Accepted
You cannot dispose of hazardous waste, such as paint, solvents, chemicals, oils, and asbestos. Tires and sealed containers are also excluded.
Take the hazardous waste to an approved local drop-off, tires to a recycling location, and hire a qualified asbestos abatement professional to handle asbestos.
What a Renovation Bin Rental Costs in Sarnia
ARP Bin Rentals’s pricing is straightforward: $199 flat for the first seven days, then $19 per day if you need more time. Waste is billed at $0.09 per pound, so you only pay for what actually goes in the bin, not a fixed disposal rate.
A few optional add-ons worth knowing about:
- Driveway protection pads for $35
- Specific delivery time for $50
- Weekend delivery or pickup for $99 each
For most residential renovations, the total comes in well below what repeated junk removal trips or dump runs would cost and without the interruptions to your project timeline.
Plan Your Renovation Cleanup Before Demolition Starts
Choosing the right bin size, arranging delivery before demolition, and loading it properly can prevent delays, extra costs, and an unsafe worksite.
For most Sarnia renovations, a 14-yard bin provides the flexibility needed for bulky and unexpected debris, while a 10-yard bin works well for smaller projects. Confirm placement, separate restricted materials, and allow enough rental time for the full cleanup.
With ARP Bin Rentals, you can keep renovation waste contained and your project moving from demolition to the final cleanup.